qtpovrayTutorial | December 22, 2017 |
This page describes the minimum steps required to render your first image.
Start qtpovray or qtpovray.exe either from the shell, or by double-clicking on it.
You will see a tiny window
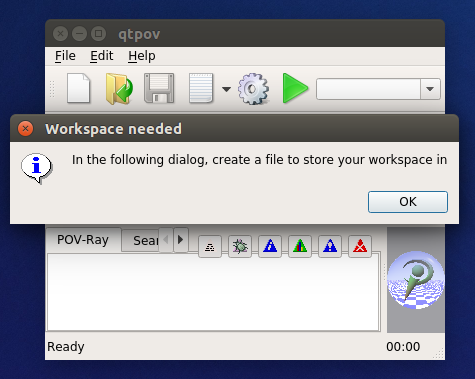
Define your workspace. This is just where metadata is stored. The default location is fine.
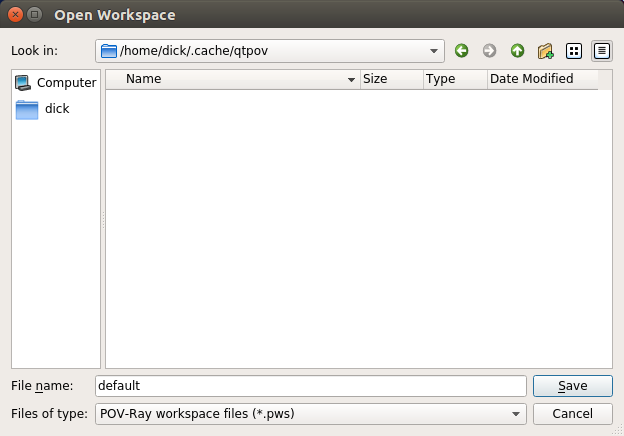
Type default for the name of your workspace, and click save.
Next, qtpovray needs to know where your actual POV-Ray SDL source will go.
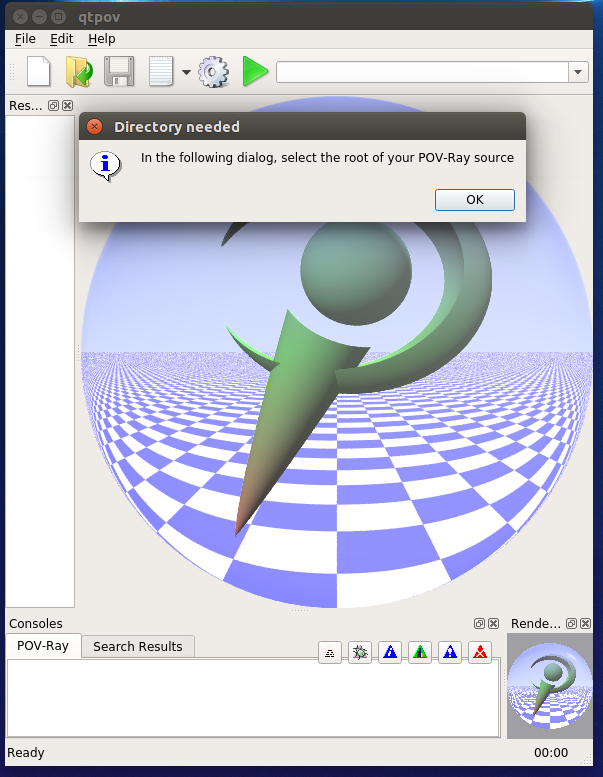
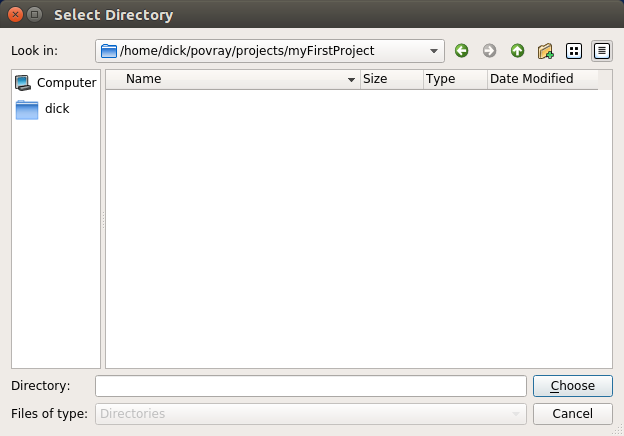
Select a directory. I prefer to group my povray projects under /home/dick/povray/projects.
Here, I've created a myFirstProject directory.
Pick a directory and click Choose.
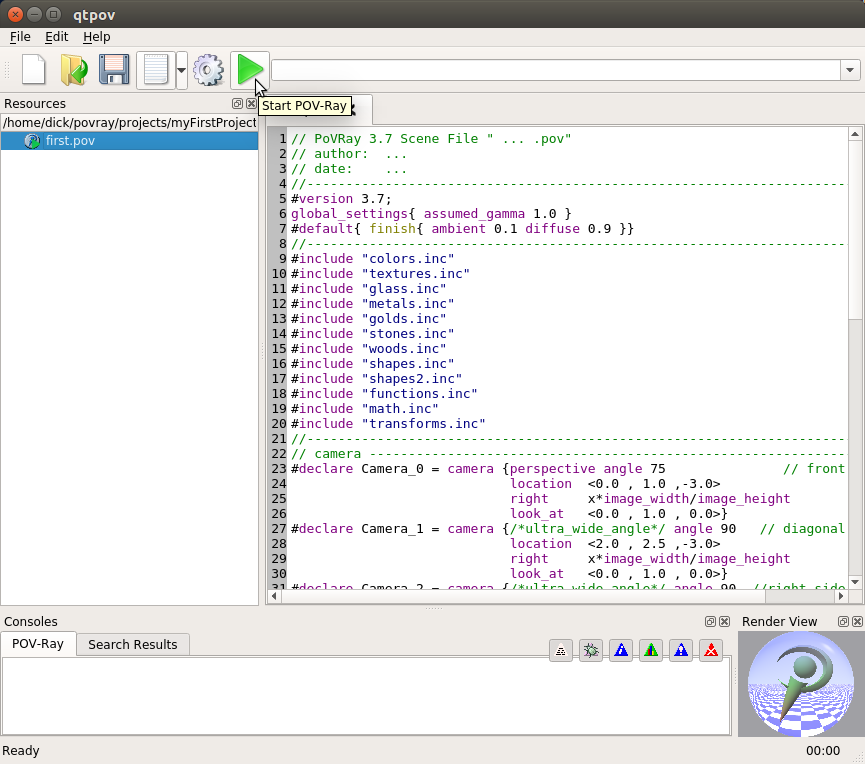
Now you are ready to create a source file. Click the New File icon

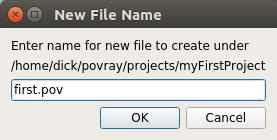
Type in a name for your file. I chose first.pov, and click Ok.
A blank file will be created and opened in the editor.
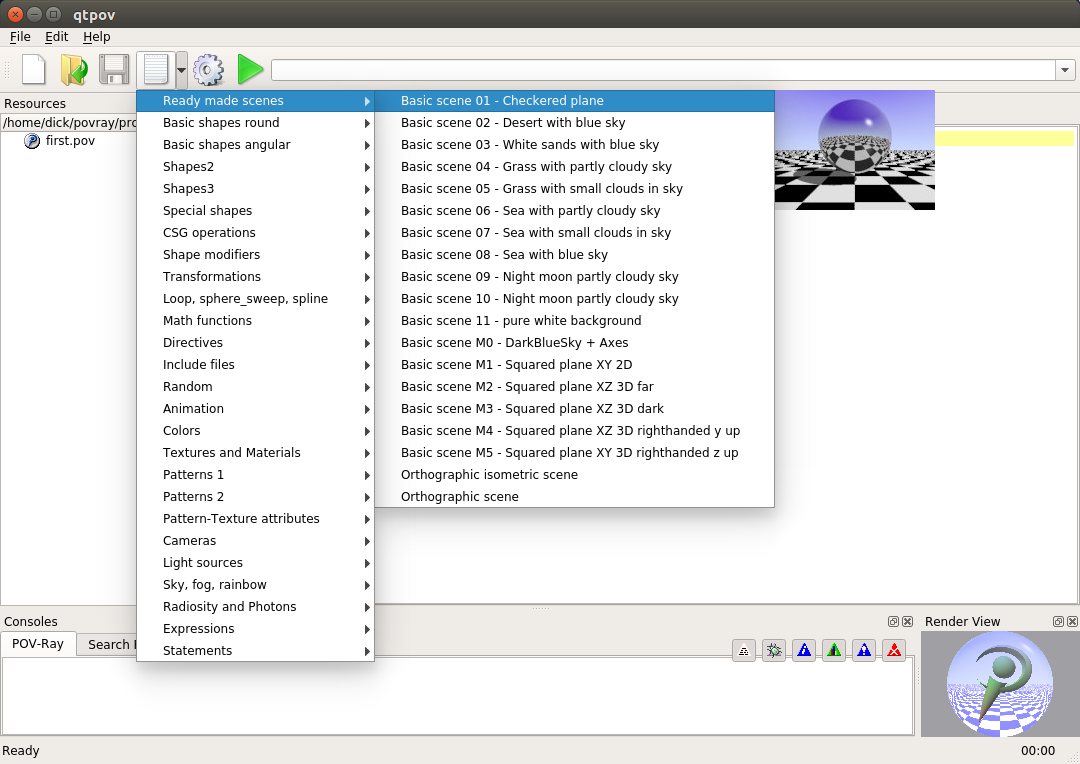
Now click the
Insert Menu dropdown and selectReady made scenes and Basic scene 01 - Checkered plane
Right-click on the filename in the Resource panel to select this file for rendering.
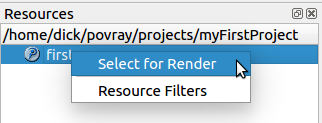
A green arrow will appear on the file to show you it is the selected file.

Finally, click the Green Start POV-Ray arrow to begin rendering.